
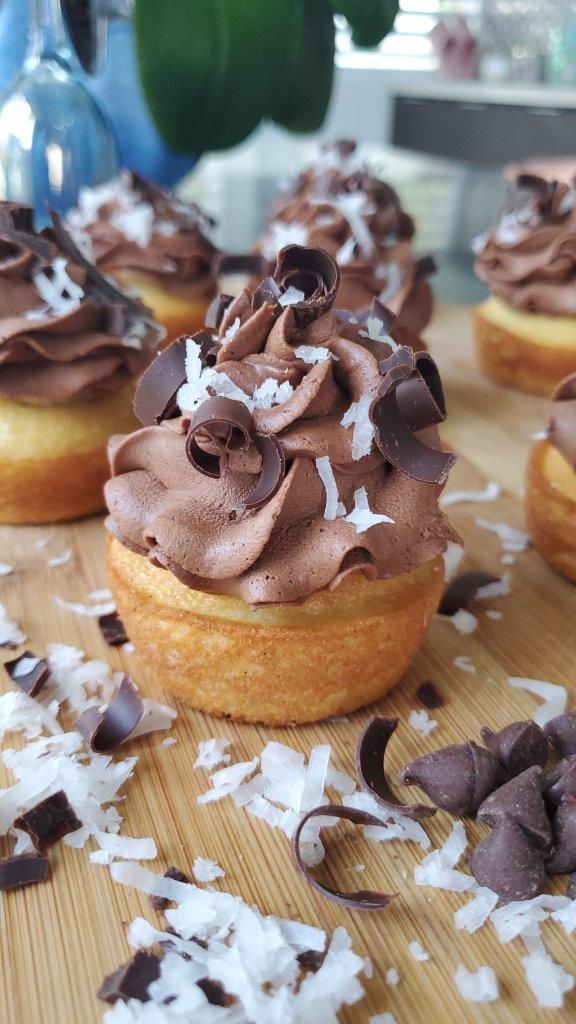
Boston Cream Pie Cupcakes
I first came across this dish while living in La Verne, California. There just so happened to be a Bakers Square right down the road at 1401 Foothill Blvd. Once I tried this amazing cake, I became a weekly visitor. Unfortunately, I found out the hard way that this was a seasonal item for Bakers Square which they only carried for I believe 3 months out of the year. You can image the blank stare I gave the clerk when I went in to order my cake and they informed me of this little tid bit of information. That is when the adventure of me making my own began. Fun Fact: You may be like the rest of us and wondering why this is called Boston Cream Pie and not Boston Cream Cake. That is because this “Pie” acquired its name when cakes and pies were cooked in the same pans, and the words were used interchangeably. The original creator must have thought Boston Cream Pie sounded better and thus the name forever became Boston Cream Pie. Although many of us still throw a Cake or Cupcake tag behind it like how we did today with our Boston Cream Pie Cupcakes.
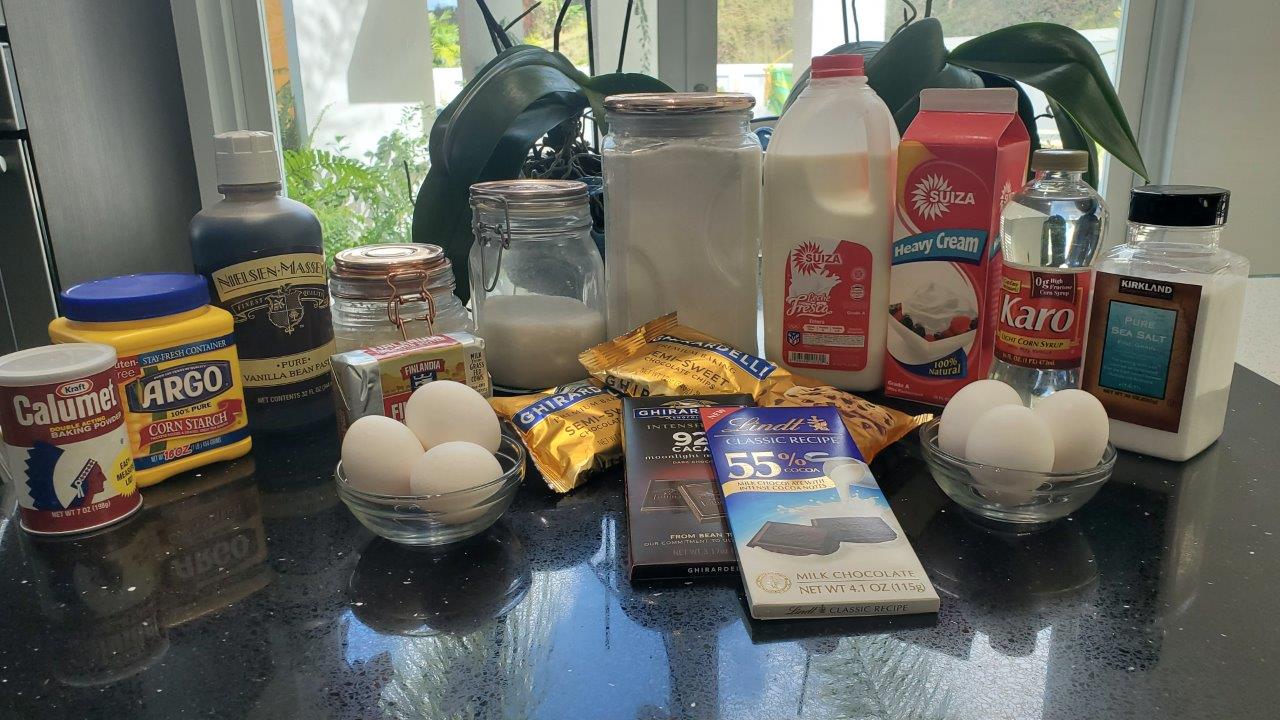
Ingredients
Pastry Cream:
- 1 ½ cups heavy cream
- 3 large egg yolks
- 1/3 cup granulated sugar
- 1/8 teaspoon of sea salt
- 4 teaspoons cornstarch
- 2 tablespoons unsalted butter (cold and cut into 2 pieces)
- 2 teaspoons vanilla bean paste or extract
Cupcakes:
- 1 ¾ cups all-purpose four
- 1 ½ teaspoons baking powder
- ¾ teaspoons sea salt
- 1 cup granulated sugar
- 1 ½ sticks (12 tablespoons unsalted butter, softened. (Cut into 12 pieces))
- 3 large eggs
- ¾ cups milk
- 2 teaspoons vanilla bean paste or extract
Chocolate Glaze:
- 1 ½ cup heavy cream
- ½ cup light corn syrup
- 2 cups of semi-sweet chocolate chips
- 2 teaspoons vanilla bean paste or extract.
Garnish:
- Chocolate shavings
- Coconut flakes (optional)
Instructions
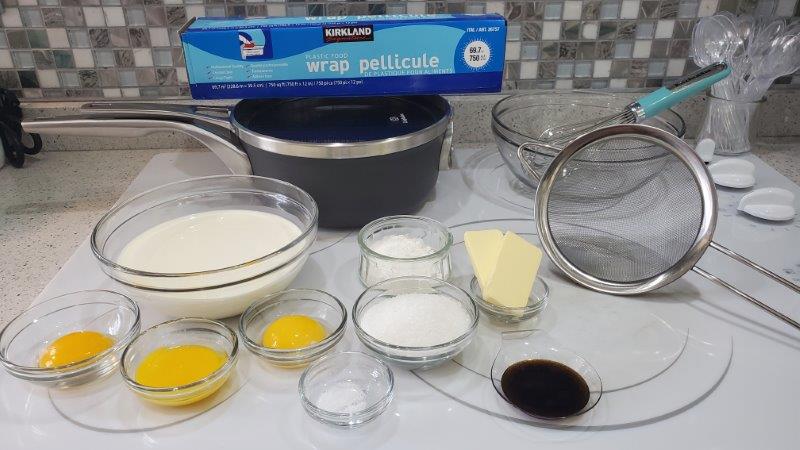
- Gather your tools, you will need a whisk, colander, medium saucepan & medium bowl as well as your pastry cream ingredients. Lets ‘s not forget about the saran wrap.

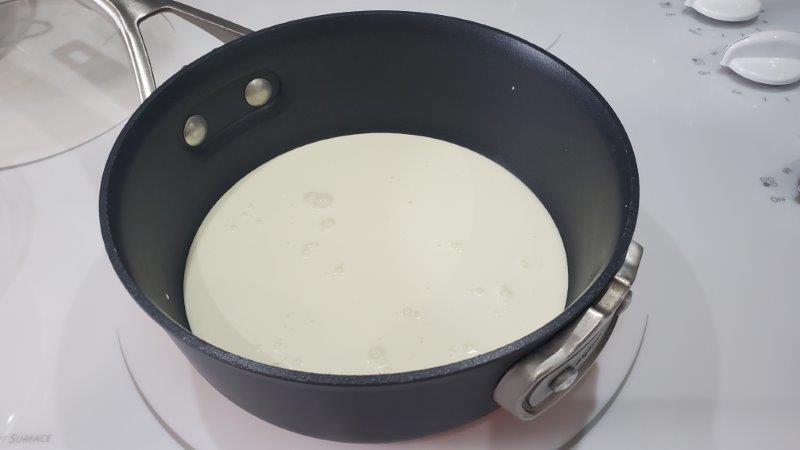
- Now pour in your heavy cream into the saucepan.

- Put the saucepan on medium heat and bring the cream to a simmer. (Stirring occasionally)

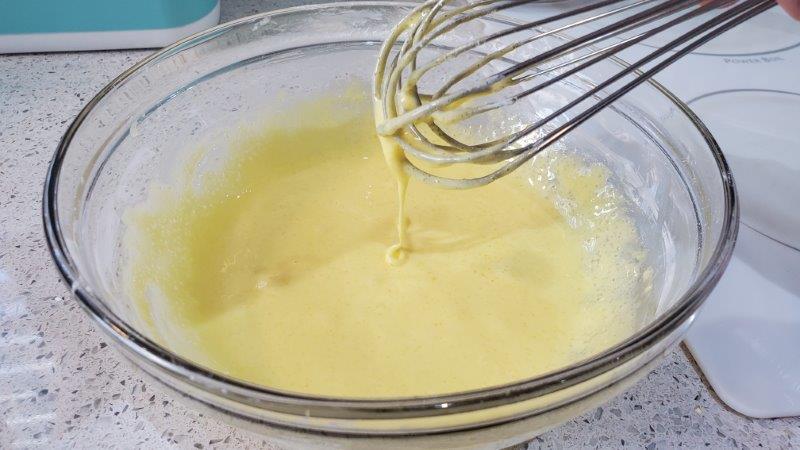
- Now in your medium bowl, add in your yolk, sugar and salt and whisk together.

- Add in your cornstarch

- Whisk together until yolk mixture is pale yellow and thick. (Very Important)

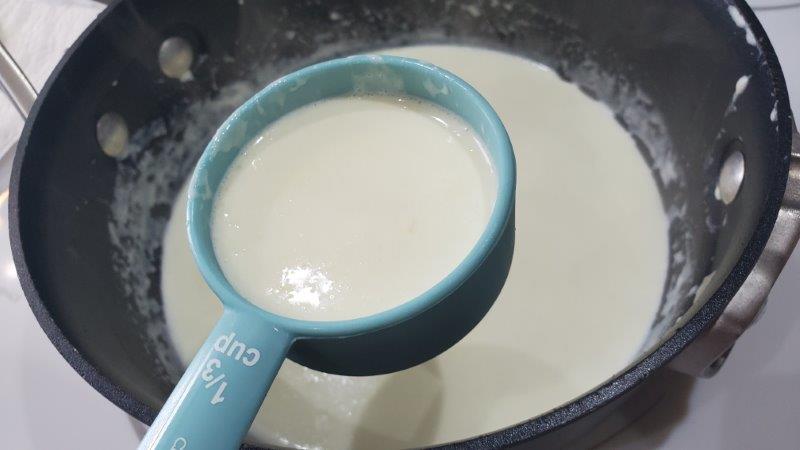
- When the cream reaches a full simmer, Scoop out 1/3 cup of the cream.

- Slowly pour 1/3 cup into yolk mixture, and whisk until completely combined. (This technique is called tempering it ensures that you do not have scrambled eggs.)

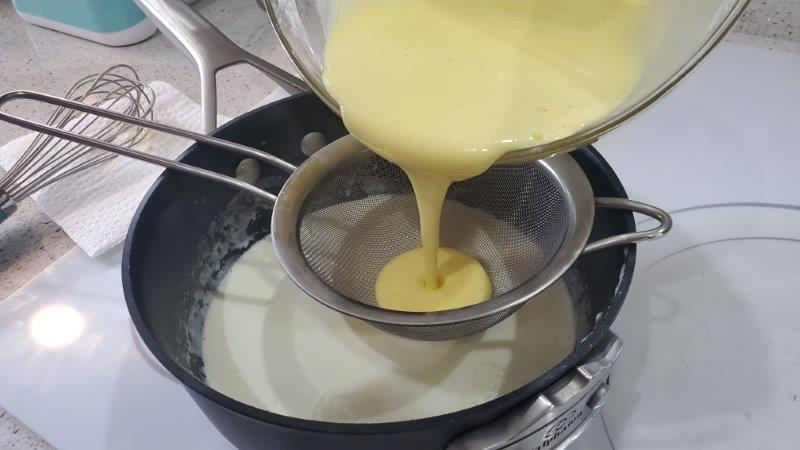
- Once combined, pour the yolk mixture into the saucepan using a colander to catch any cooked bits of egg, and continue to cook over medium heat.

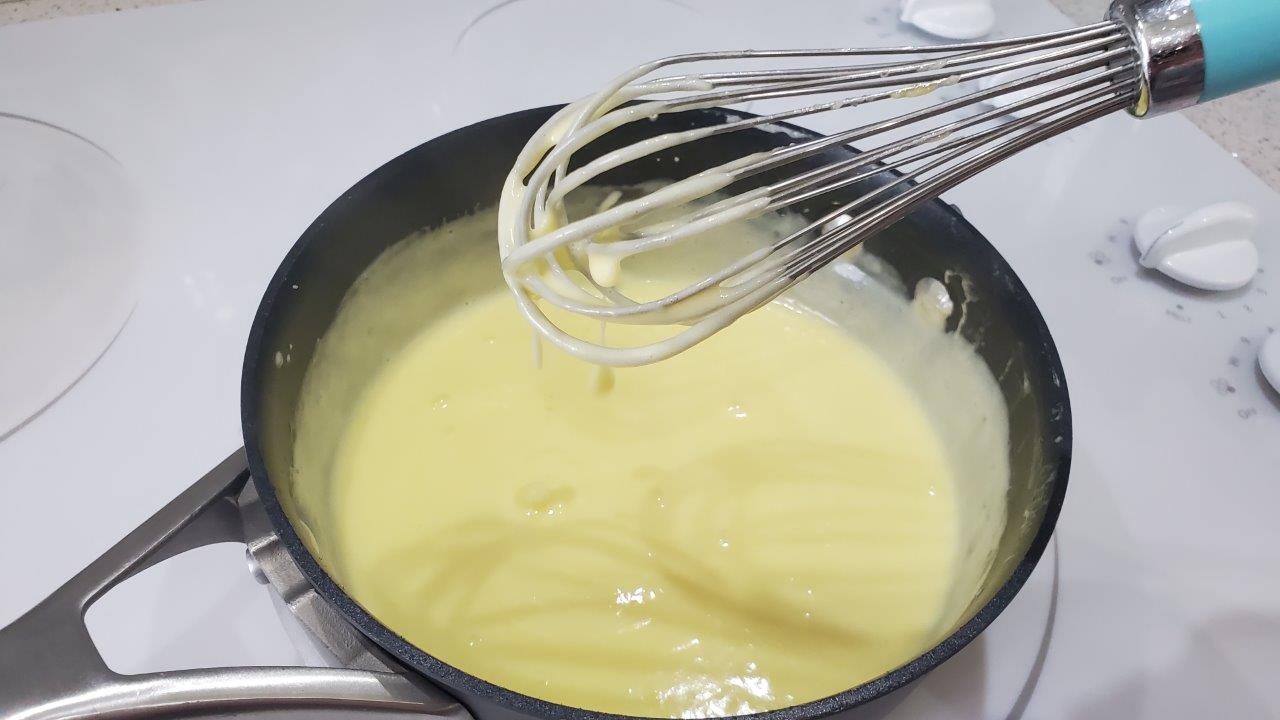
- Whisk consistently until thick and glossy, then remove off heat.

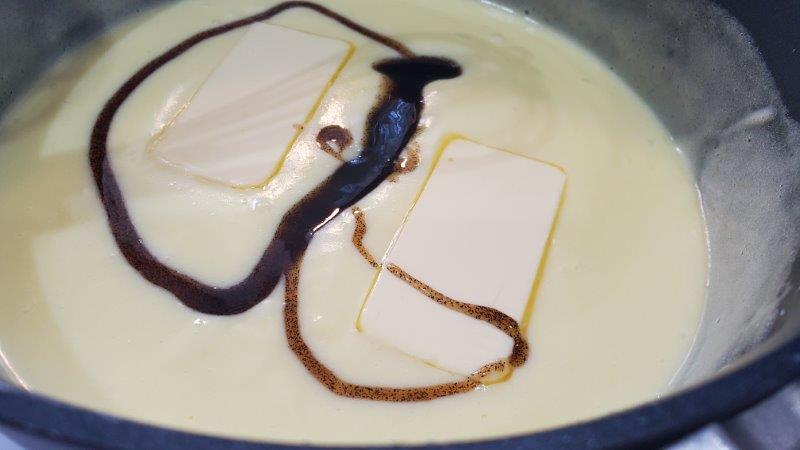
- Now that your saucepan is off the heat, whisk in your butter and vanilla bean paste.

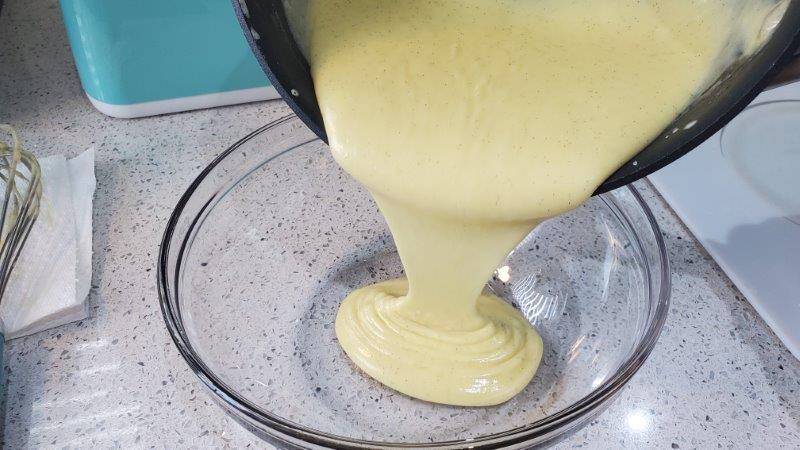
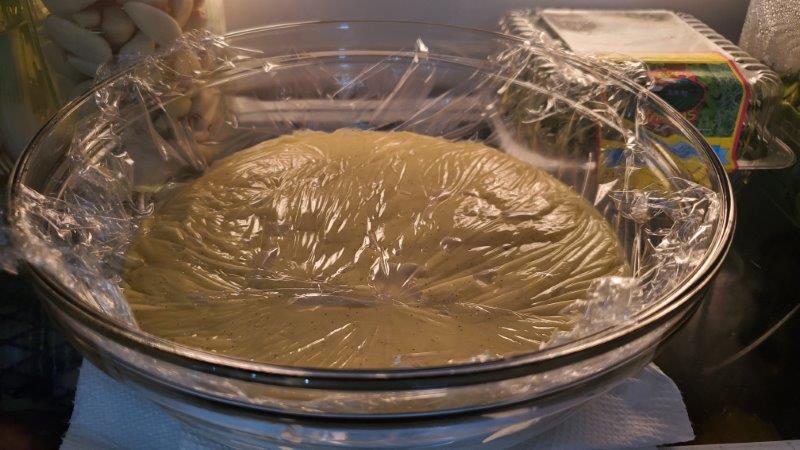
- When thoroughly whisked. Transfer to a small bowl and cover with some plastic wrap. (ensure the wrap is flush against the surface of the cream. This will prevent the cream from developing a skin.

- Once properly covered, you will need to refrigerate for 2-3 hours or up to 2 days.

- Gather your Cupcake ingredients.

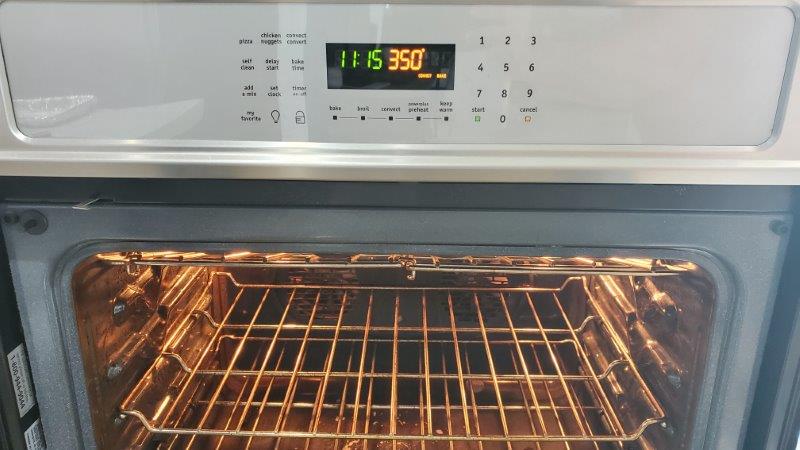
- Preheat oven to 350° F and adjust your oven rack to the middle position.

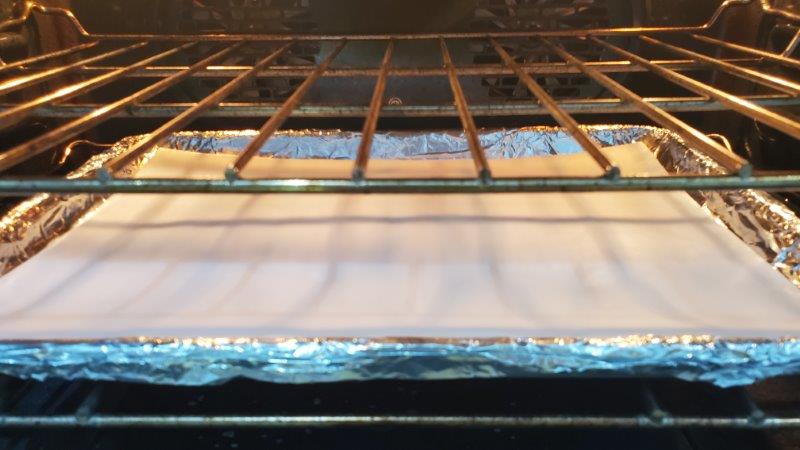
- Line a baking sheet pan with parchment paper and place on bottom rack of oven (This is to catch any overflow that may happen).

- Spray a standard muffin pan with pam butter non-stick spray and set aside.

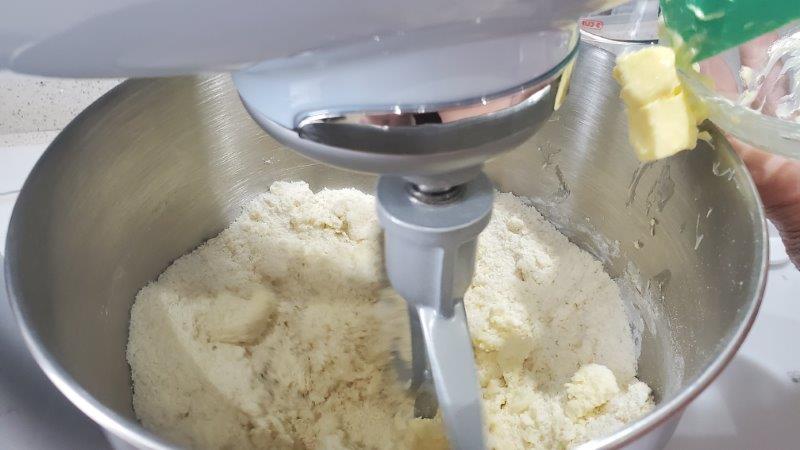
- In the bowl of a stand mixer, combine the flour, baking powder, salt and sugar from your cupcake ingredients by mixing on low for about 30 seconds.

- While continuing to mix, add in your butter 1 piece at a time, and combine until the mixture resembles coarse sand.

- Still continuing to mix, add the eggs, 1 at a time and mix until fully combined.

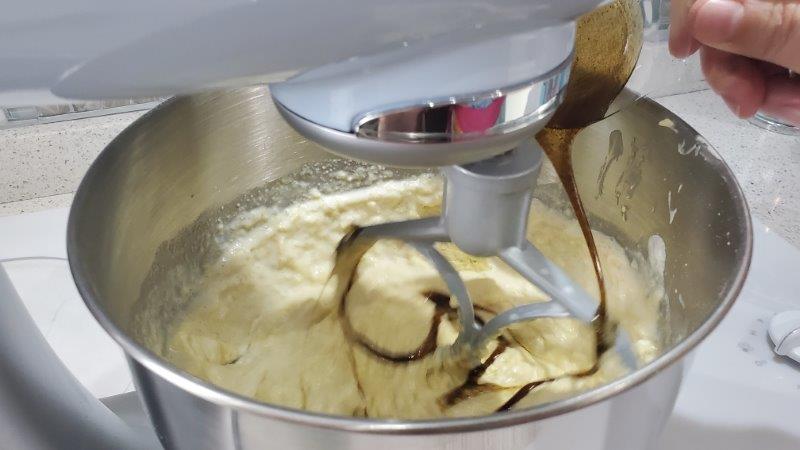
- Then add in your milk and vanilla bean paste.

- Increase your speed to medium and mix until the batter is light and fluffy (ensuring there are no lumps. You may need to stop and scrap down the side unless your paddle scraps the sides)

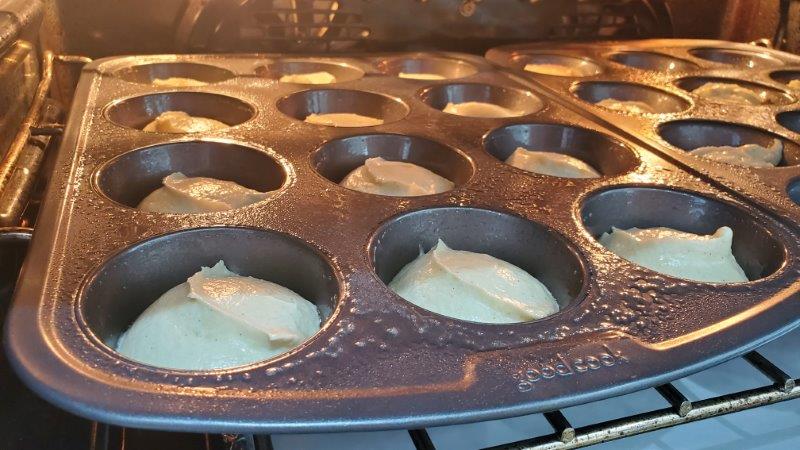
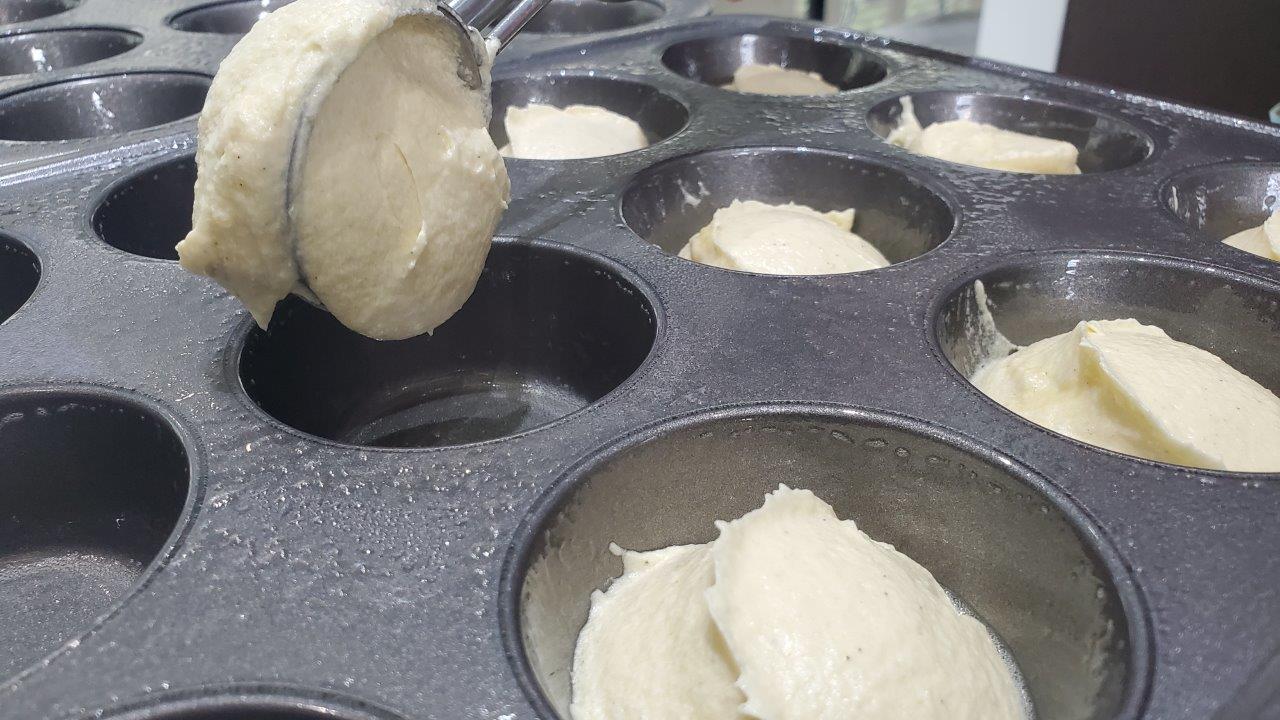
- Pour the batter into the muffin pans. You will want to fill each cup about ¾ of the way. Be careful not to over fill. (We use a scoop for this)

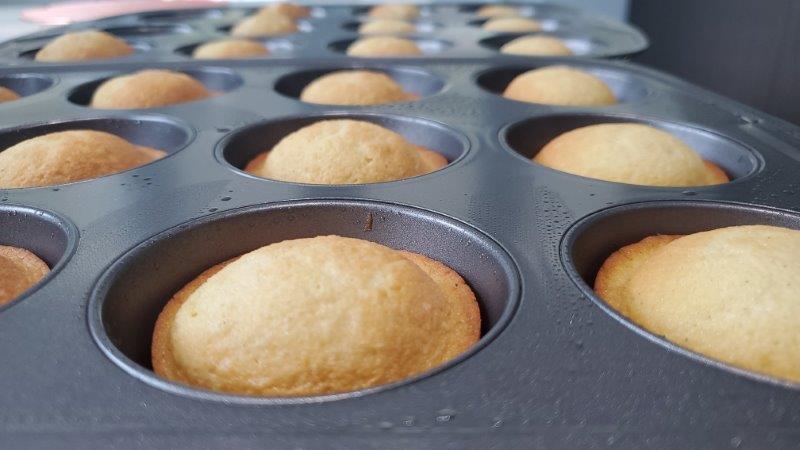
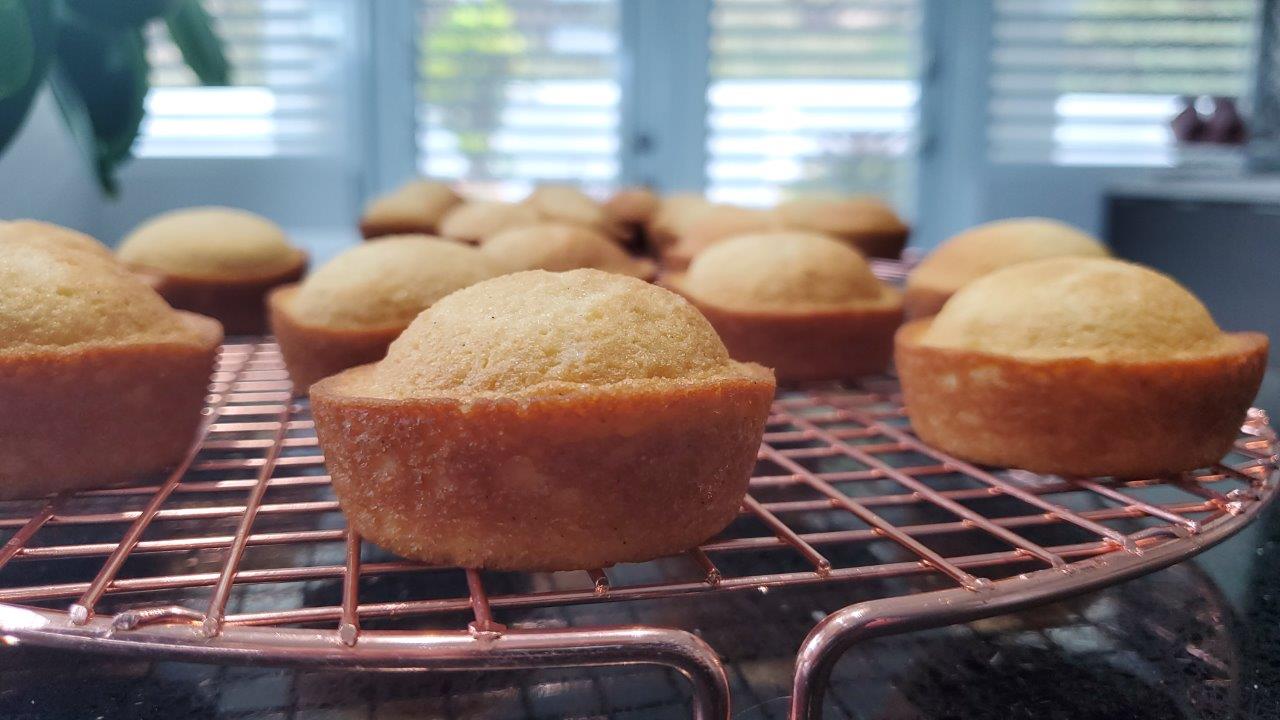
- Place in oven and bake for about 20 minutes or until you can stick a toothpick in the center, and it comes out clean.

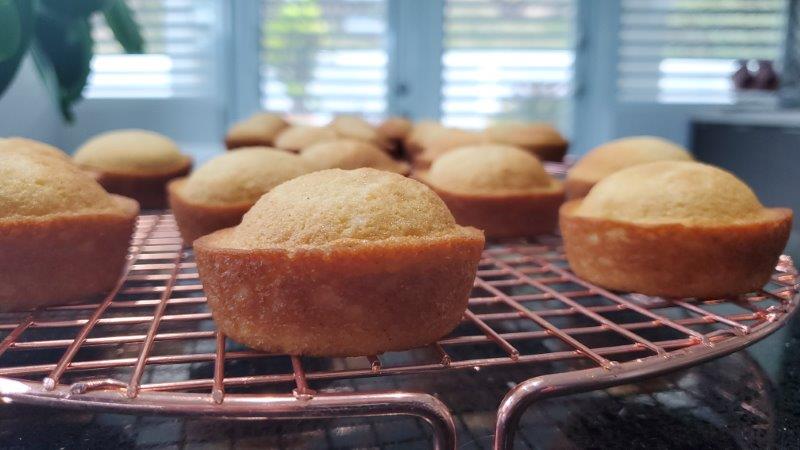
- Remove cupcakes from the oven and let them stand for about 5 minutes.

- After 5 minutes, remove from pan by transferring the cupcakes to a wire rack to cool completely.

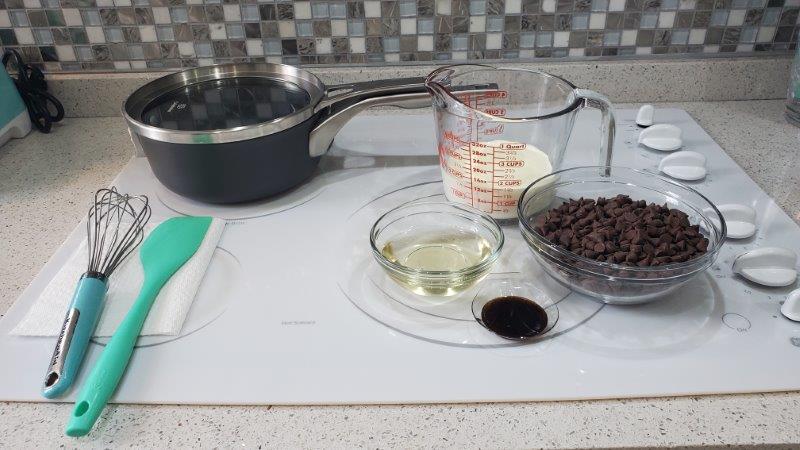
- Gather a small saucepan and the ingredients for the glaze.

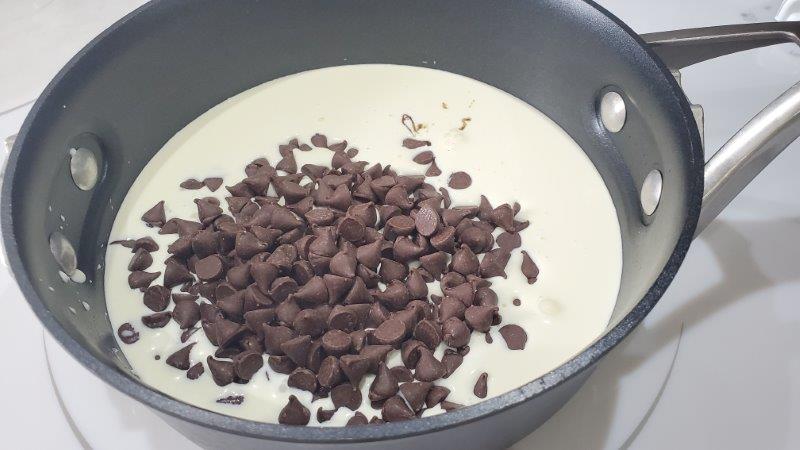
- Pour in your heavy cream, corn syrup, chocolate, and vanilla bean paste into the saucepan. Then place on medium heat.

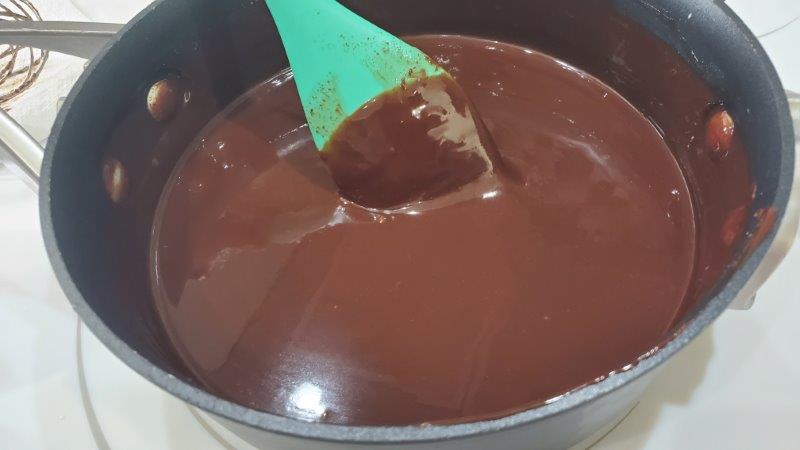
- Stir constantly until glaze is smooth

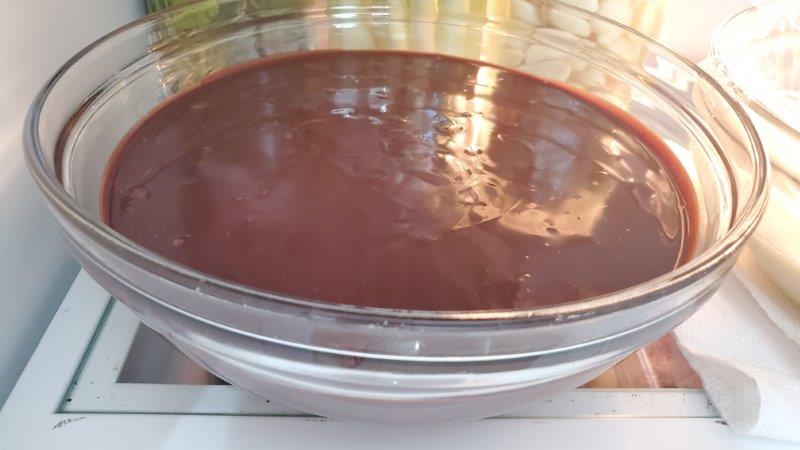
- Remove from heat and allow to thicken for 10 minutes. Then put in bowl and set in fridge for additional 20 minutes. (this is to make it thick enough for piping bag)

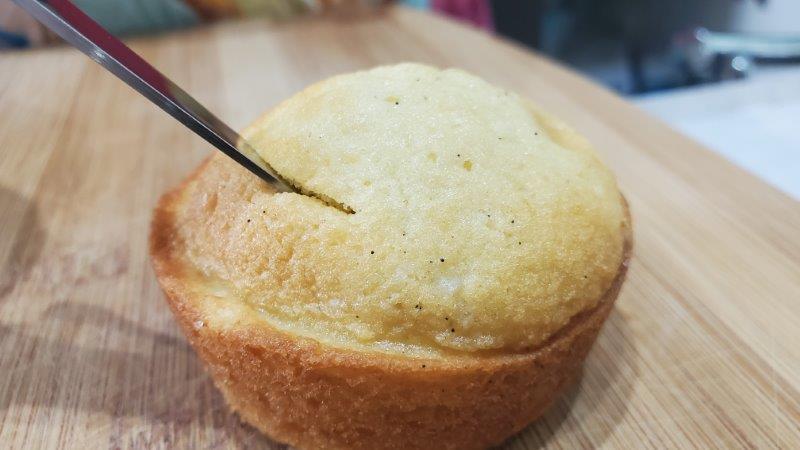
- This is my favorite part. Cake assembly. Using a small knife, your going to want to cut into each cupcake at a 45-degree angle and about 1/8 inch from the edges.

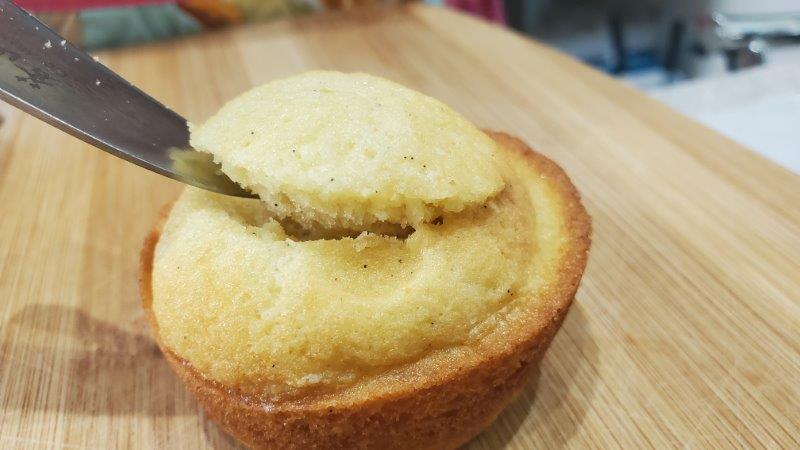
- Cut all the way around. (the ideas is to cut out a cone shaped hole)

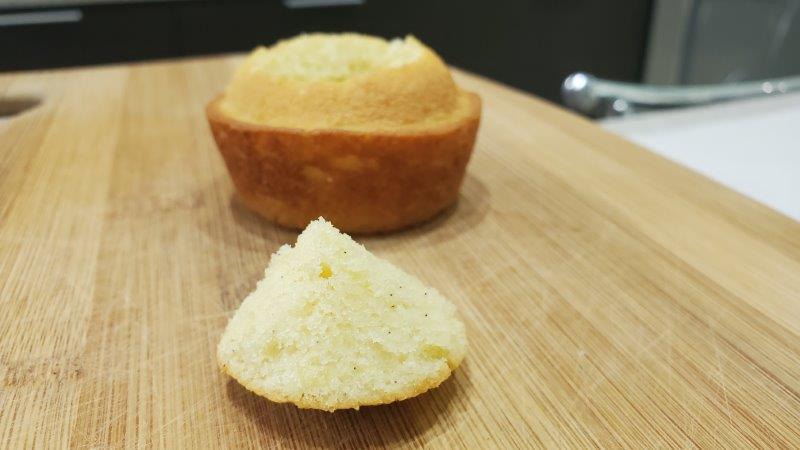
- Remove the cone.

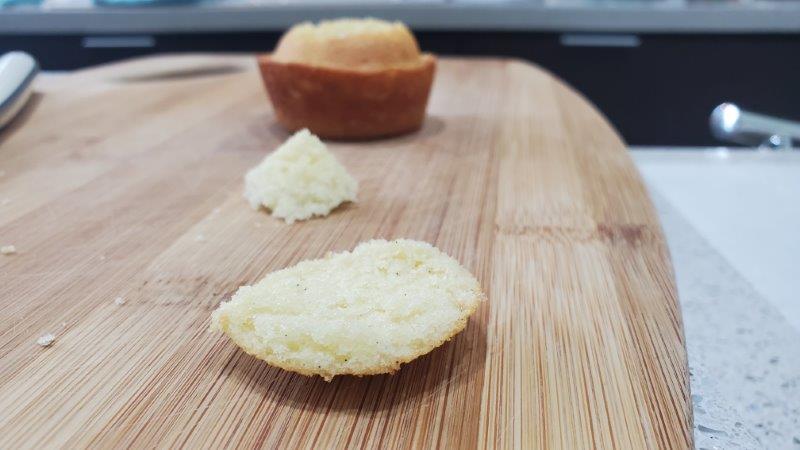
- Cut most of the tip off the cone, leaving a small disk and set the disk aside. (This will be to re-cover the hole once filled) Side note: You can eat the left over cone you cut from the disk!!.

- Repeat steps 31-34 for all the remaining cupcakes .

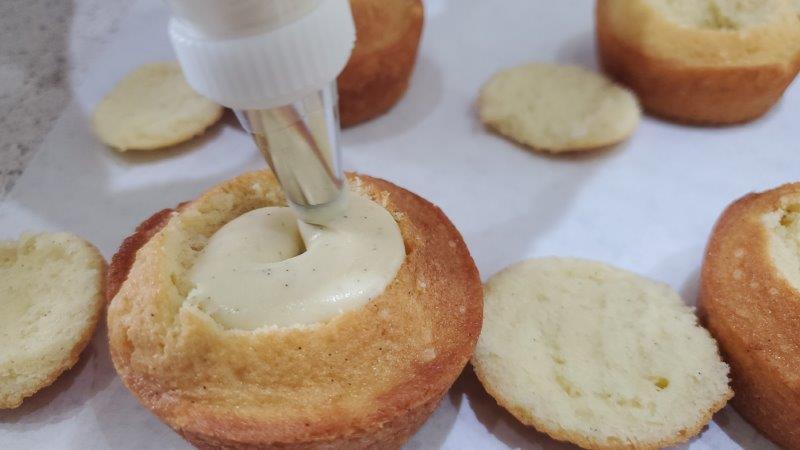
- Using a pastry bag, Fill each cupcake with pastry cream. (If you do not have a piping bag, you can use a Ziploc back and cut the corner off to make a makeshift piping bag.

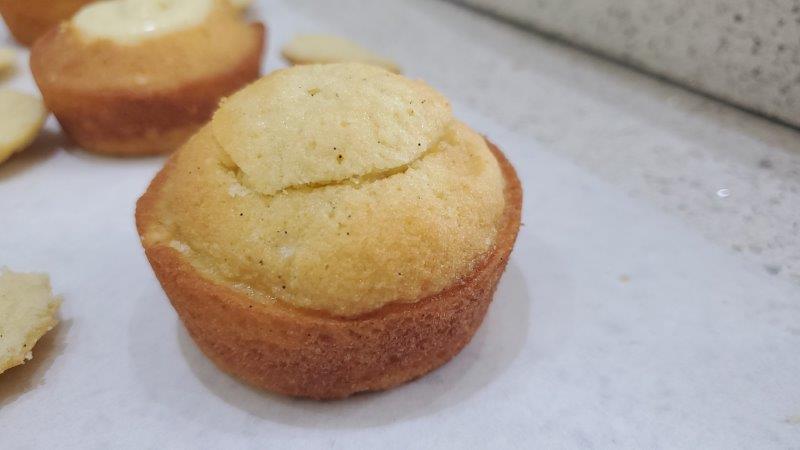
- Place the small disk back over the hole to seal in the cream.

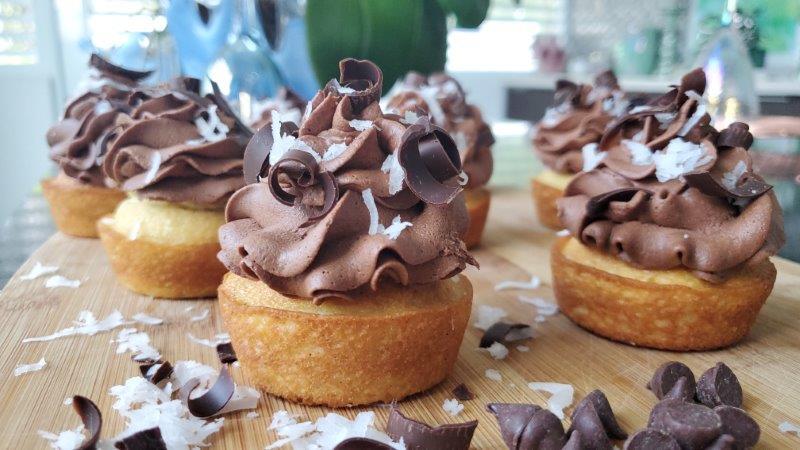
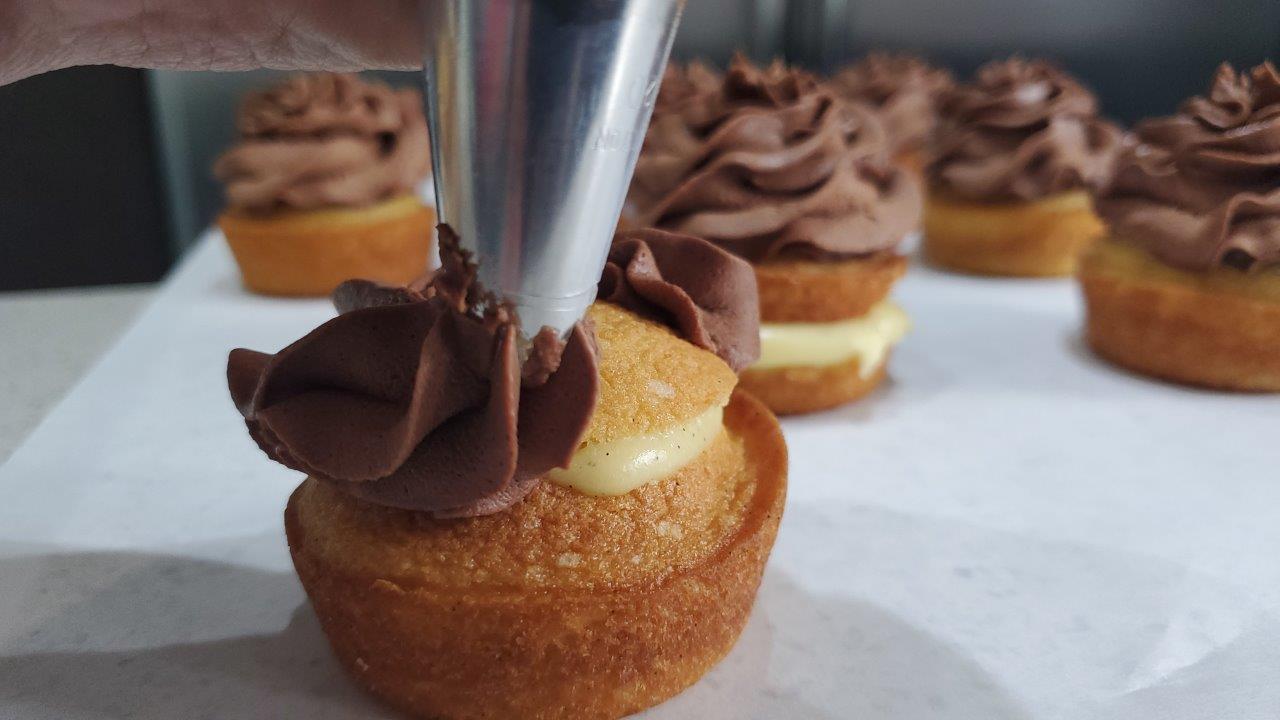
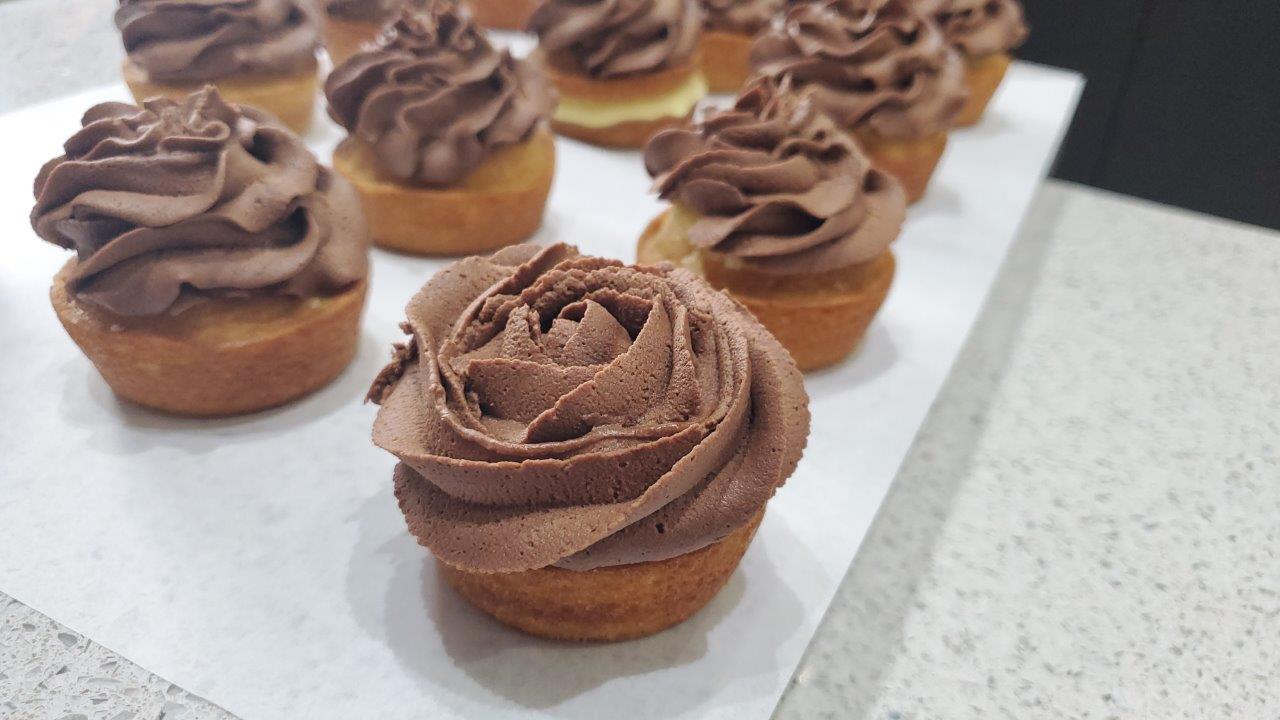
- Using a decorative tip, fill a pastry bag with chocolate ganache and pipe over each cupcake. (If you do not have a piping bag. Carefully top each cupcake with 1-2 tablespoons of chocolate glaze.

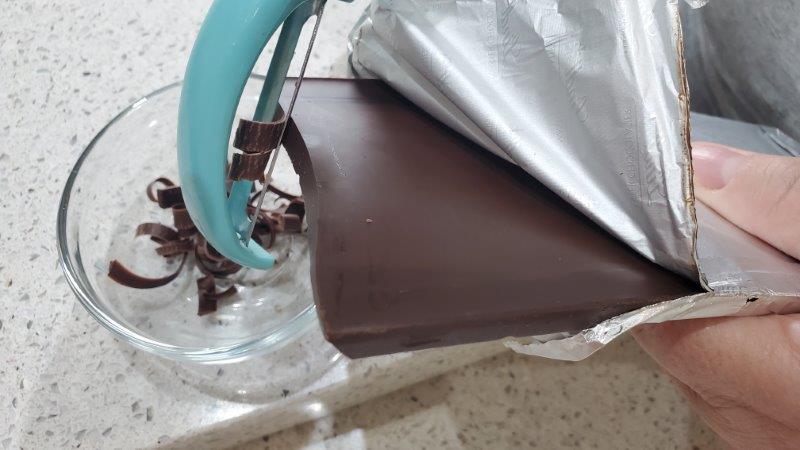
- Now it is time to garnish. For this we want a chocolate bar and a vegetable peeler. (The idea is to create little chocolate shavings). Then sprinkle on the cupcakes.

- As an optional garnish, we also used coconut shavings. We hope you ENJOY!!!


